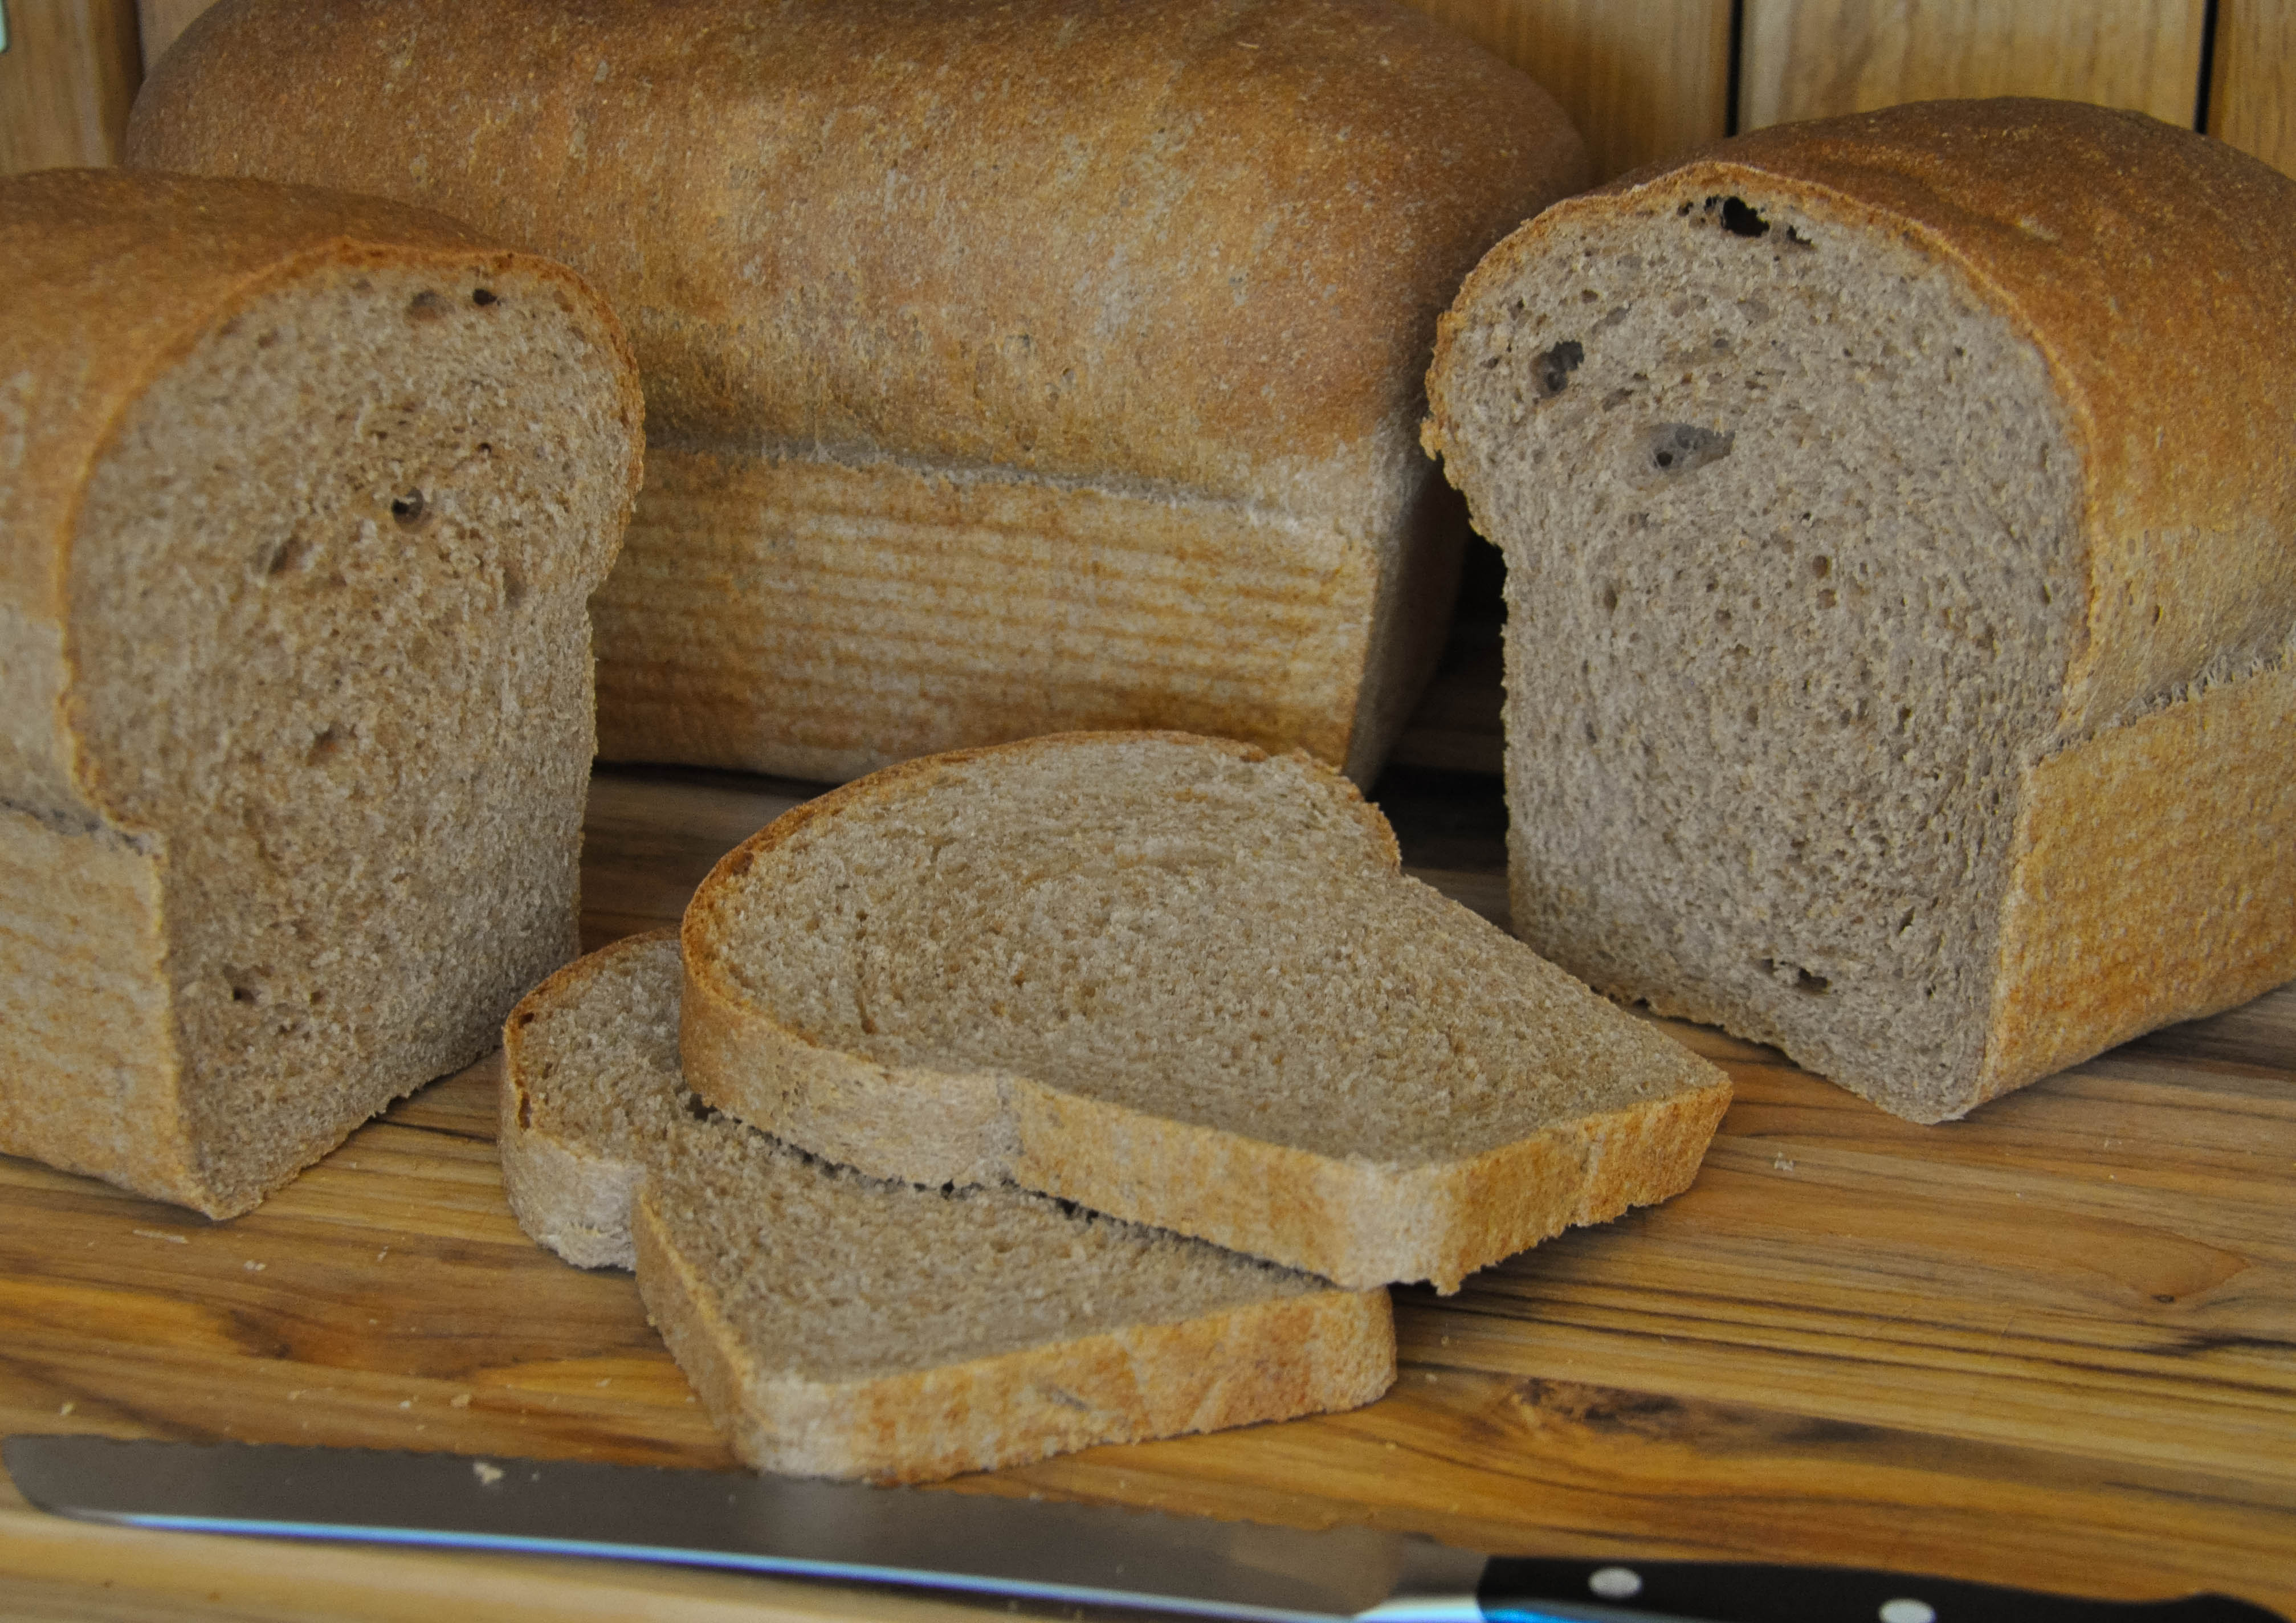
100% Sprouted Wheat Sandwich Bread
This recipe makes two loaves and requires a two-hour rise-time and 30 minutes to bake. See the thumbnail gallery below for a visual guide to the bolded terms in the recipe.
Ingredients
- 7 Cups sprouted whole wheat flour
- 1 Tablespoon SAF yeast
- 2½ Cups bottled water at room temperature
- 1 Tablespoon kosher salt*
- 2 Oz. butter (1/4 cup) (Or substitute 3 tablespoons vegetable oil. Be aware that this will decrease the rise and therefore result in a denser bread)
Equipment
- Large bowl (at least 4 Qt)
- 2 Loaf pans (8½ x 4½)**
- Digital read thermometer (more accurate than the analog type)
- Spray olive oil
- Cooling rack
Instructions
- Add 3½ cups of flour to your stand mixer with dough hook attached (make sure your mixer 's capacity is large enough to hold 7 cups of flour).
- Add yeast to the dry flour. Mix with a spoon to evenly distribute the yeast into the flour.
- Add all of the water and let it sit for 1 minute.
- Start mixing on lowest setting for 1 minute.
- Slooooowly add your remaining 3½ cups of flour (it should take 3-4 minutes to get all the flour added).
- Once all the flour has been added, turn the mixer up one speed.
- When your dough looks like a shaggy mess, gradually add in your tablespoon of salt. Keep the mixer going on the second speed as you add your salt.
- Your dough will start to come together now. Continue mixing until a soft consistent dough is formed. This should be about 3-4 minutes of mixing.
- While your mixer is busy getting your dough to come together, measure out your butter into a small dish and microwave for twenty seconds.
- This next part takes a bit of faith. Your beautiful looking dough is going to fall apart once you've added the butter. Don't worry, it will come back together.
- Add in the butter, ½ tablespoon at a time. The butter is going to make the dough very slippery. You will have to use a rubber spatula to move the dough around in the mixer so that the dough hook can knead it properly. Always shut your machine before doing ANYTHING inside the mixing bowl.
- Continue to mix until the dough comes back together.
- Once the dough comes back together, remove from bowl and place on a lightly floured work surface.
- Briefly (less than a minute) knead the dough; it should feel soft, supple, and the tiniest bit tacky.
- Shape the dough into a ball by: a. flattening it into a chubby circle, b. folding left and right sides into center, c. folding top and bottom into center, and d. flipping the dough over (seams underneath) and pulling the dough towards you while gently tucking the dough underneath itself. You may need to remove some of the flour from your work surface so that as you pull the dough towards yourself there is some resistance. If your work surface is too slippery, sprinkle a little water on your dough to make it a bit tacky.***
- Lightly spray a large bowl with olive oil. Make sure that it will accommodate the dough once it has nearly doubled in size.
- Place your shaped dough into your bow and turn the dough all around so that each side gets covered in oil.
- Tightly cover your bowl with plastic wrap. Make sure to really pull the wrap tight. I use a dough bucket that has a tight fitting lid (a good investment).
- Let the dough rise for an hour. It should be double in size. If it isn't, let it rise longer. The temperature of your kitchen will really affect the rise time. I have a very sunny spot in my kitchen and it makes a great warm environment for the yeast to do its job.
- Once it has doubled in size or nearly doubled, turn it out onto your lightly floured work surface and press it gently to deflate.
- Divide the dough in half and set one half aside.
- Flatten your remaining half into a large rectangle.
- Starting from the side that is furthest from you begin rolling the dough towards you. Apply some force to tuck the roll under on each turn making a tight roll. You want to have a nice tight roll so that you don't get big air pockets in your bread.
- When your entire rectangle has been rolled up, you need to pinch the dough together to create a sealed seam.
- Repeat for the other half of dough.
- Place both rolls into bread pans that have been sprayed with oil.
- Cover loosely with plastic wrap and let rise for 60 minutes.
- Turn your oven to 375F convection bake.
- Check back after about 45 minutes and make sure the plastic wrap is not keeping the dough from rising. If the wrap seems too tight remove it and re-cover loosely.
- Once the dough has risen well over the edge of the pan, it is ready to bake.*****
- Gently slide it into your preheated oven and bake for 20 minutes.
- Rotate your loaves in the oven, and change your oven setting to bake and continue baking for another 10 minutes.******
- When the breads have a nice golden crust, remove them from oven and gently tilt them out of their pans. Use an oven mitt so that you don't burn yourself.
- Insert your digital thermometer into the center of the base of the bread.
- Your bread is done when it's in the 200-205F range.
- Put it back in the oven if you are not at temperature yet and check back in several minutes.
Notes
*I have experimented with different salts and I have found kosher salt to produce a more lofty, higher rise.
**I am in love with USA pans and highly recommend buying their 8½" x 4½" bread pans. These pans are just a touch smaller than the traditional 9x5 pans. This allows the bread to rise well above the rim of the pan, creating a well defined and beautiful crust.
***Bread shaping is an art and takes a lot of practice. I recommend watching YouTube videos to start to get the motions right and then you can begin to experiment for yourself. Your technique will affect the rise of your bread and therefore the texture, which ultimately has a big impact on taste.
****If you plan to do a lot of your own baking it makes sense to invest in a digital kitchen scale. Your measurements will be much more accurate, and if you are interested in following a baking formula, you will need one. I purchased mine from Oxo and it has been working great for about seven years.
*****If you don't get an incredible rise the first time you make this bread, don't worry; you'll get there. Temperature will dramatically affect the time it takes for your bread to rise. You can do all sorts of things to create a warmer environment for your bread. I have never had to do anything special to get this dough to rise. On sunny days I leave it to rise in a sunny spot and on cloudy days I let it rise near the preheating oven.
******Everyone's oven is different. If the tops of your breads are getting too brown turn your oven's setting to bake before 20 minutes.
Recipe by at https://www.thescratchartist.com/?p=856