Beans, Beans, Beans
Ingredients
Beans
- Any dried bean from the list above (use my quantity guide to determine how much you want to make)*
Optional flavorers to boil your beans with
- ½ Sweet or yellow onion
- 1 Carrot
- 1 Bay leaf
- 4-5 Thyme sprigs
- 1 Celery stalk
- 4-5 Parsley stems (stems only!)
- 1 Small tomato
- Optional: Garlic clove (I don't use this because garlic doesn't agree with me, but don't let that stop you!)
Instructions
- Wash your beans in a strainer and pick out any non-bean intruders! Place your beans in a large enough bowl to allow for bean expansion and cover with about 3" of water. Go do something for 12 hours. A watched bean never swells...or something like that.
- Pour your soaked beans back into your strainer and gently rinse them again. Now, pick an appropriate sized pot for your beans; you don't want boil-over issues. Another factor to consider is bean crushing. If you pick a pot that is tall rather than wide, the beans on the bottom will get crushed under the weight of the beans above, and you will likely get some disintegrating beans at the bottom and some beans that are still hard at the top. The wider the pot the better.
- Pour the beans into your pot and cover with about two inches of water. Set this aside for the moment while you prepare your vegetables.
- Keep all of the vegetables in big chunks; they will all be discarded once the beans are finished cooking. If you don't want little thyme leaves breaking free and intermingling with your beans, use cheese cloth to wrap your thyme and parsley (I like to let the thyme roam free).
- If you are missing any of the ingredients above, don't worry. You can make the beans with as many or as few of the ingredients as you like. You can even make them with plain water and salt if you truly have an empty fridge.**
- Place all of the herbs and vegetables into your bean pot. Turn the burner on medium high and add a pinch of salt.
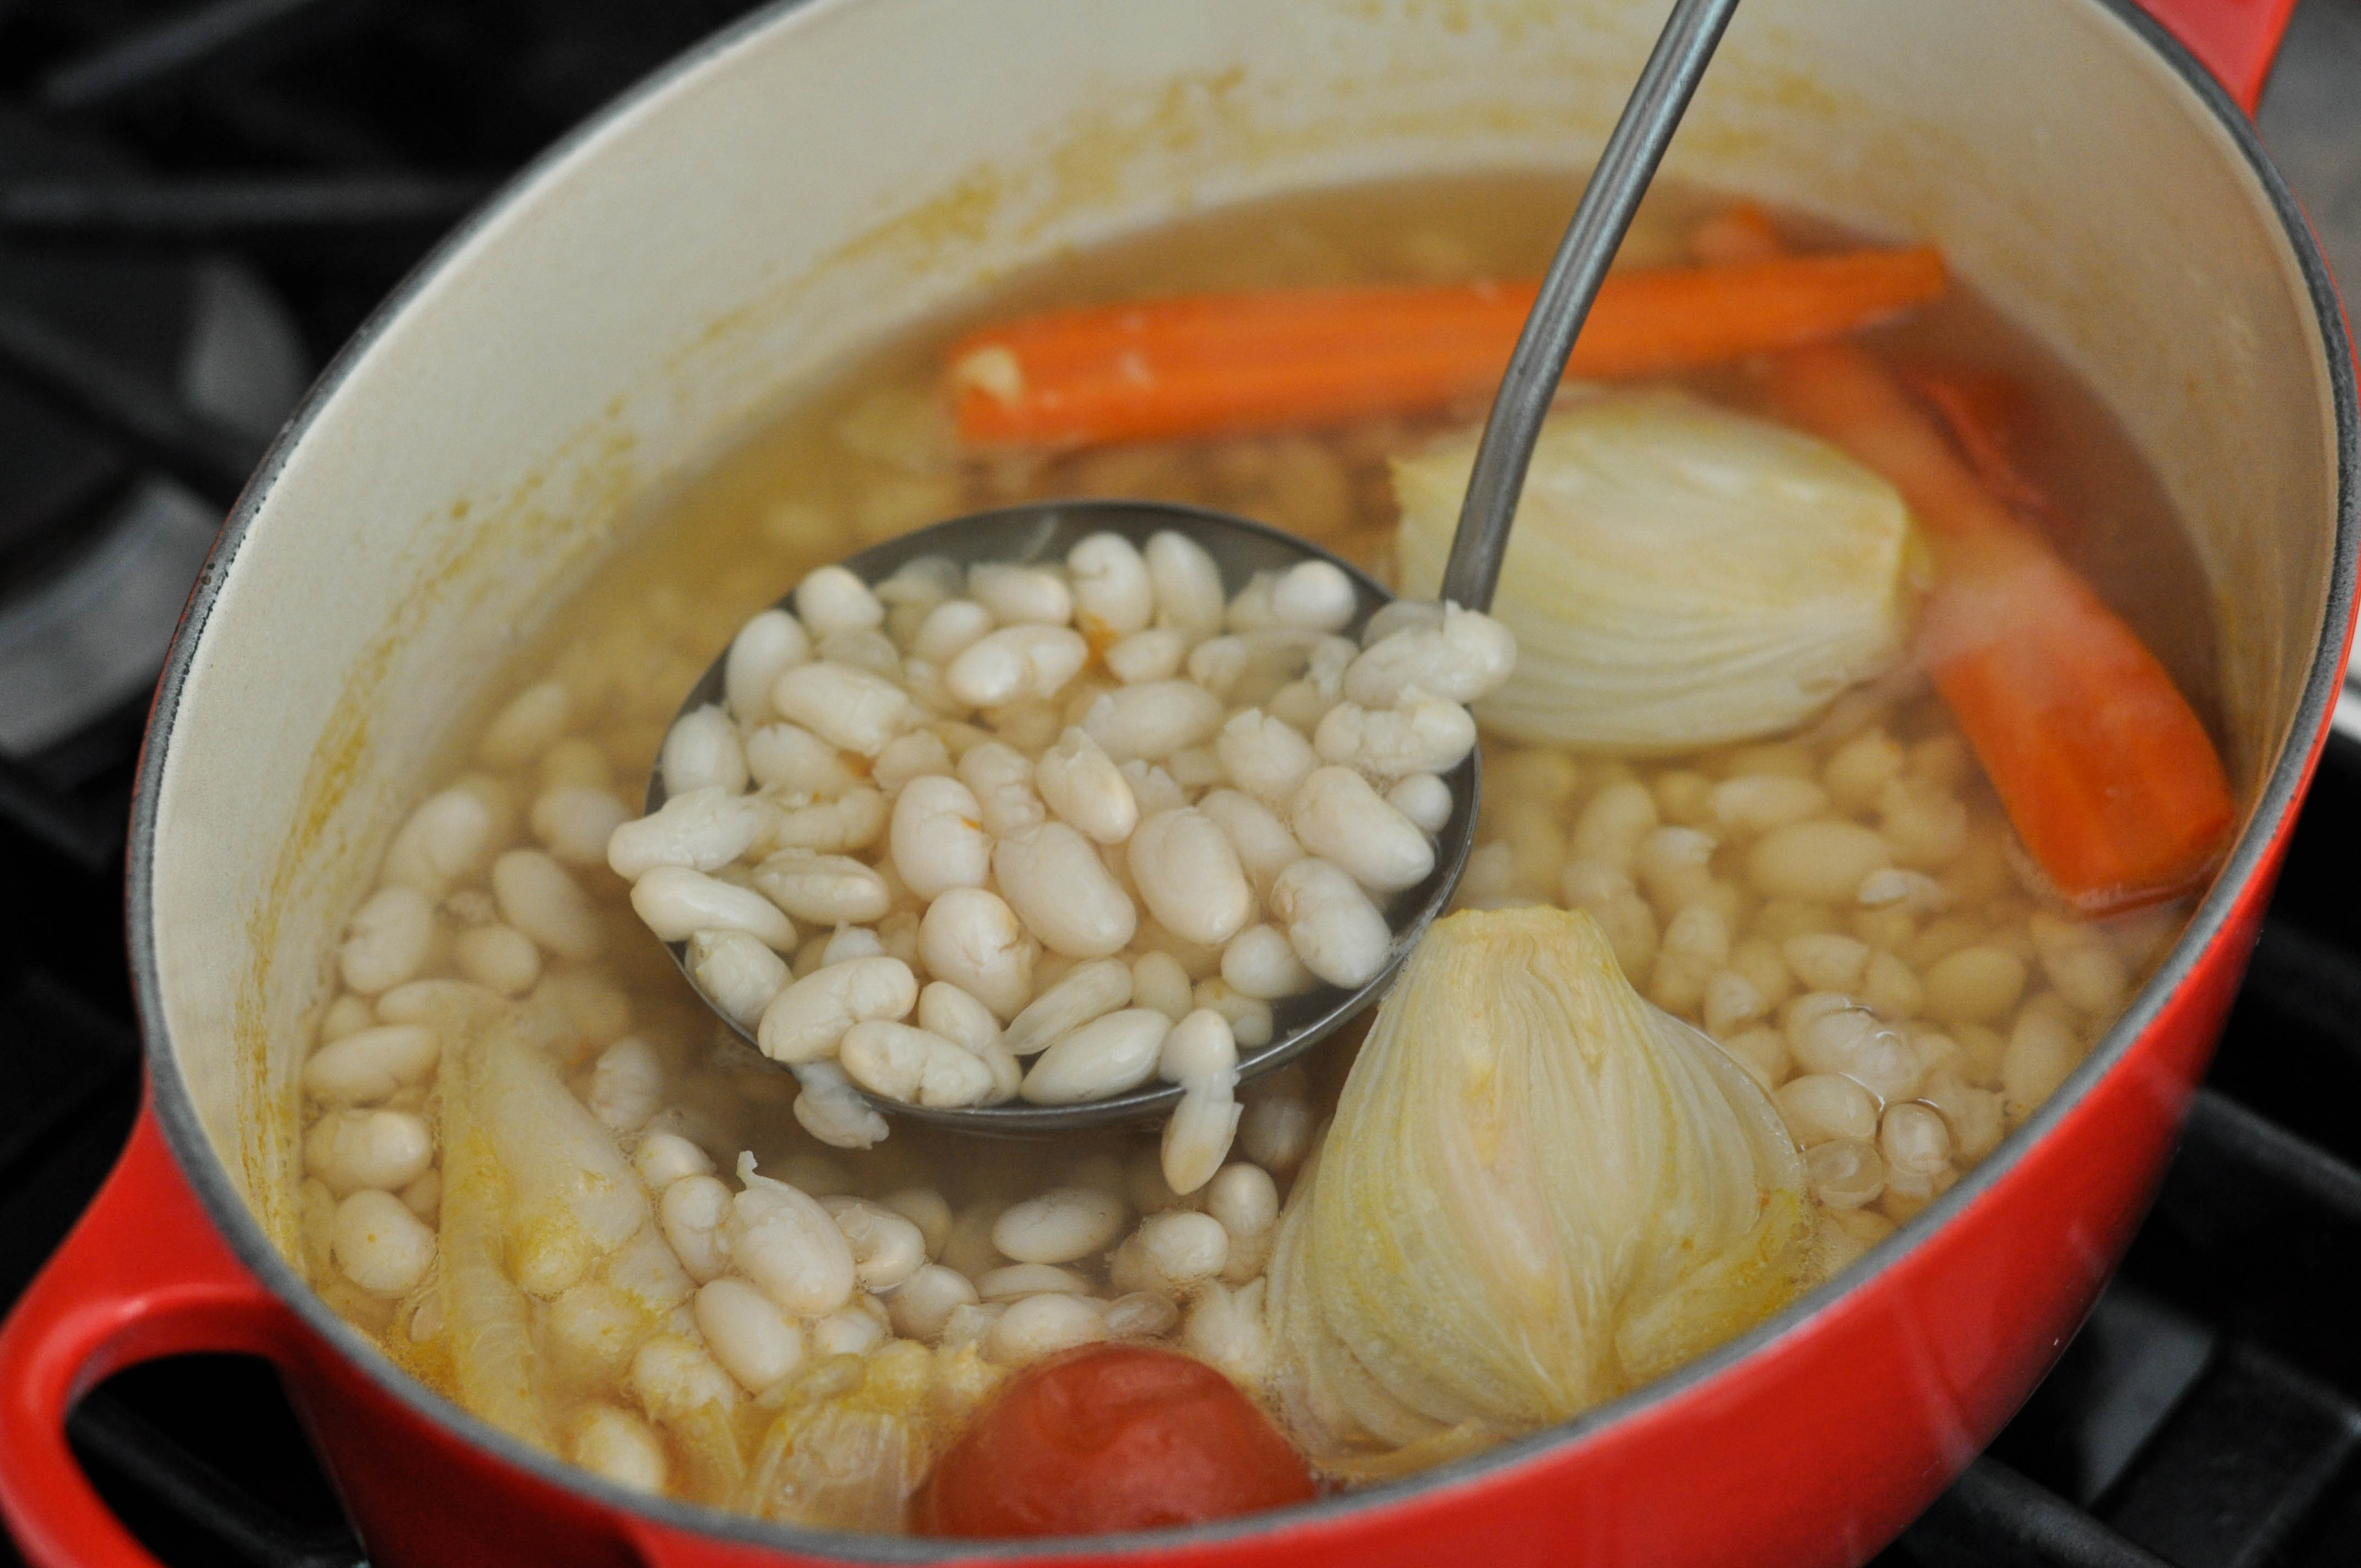
- Leave uncovered and let the water come to a boil. Once you have a rolling boil going, turn the beans down to low. You will probably see a fair amount of white foam on the surface of your water. Use a ladle to remove the foam and discard it.
- Taste the water and add more salt if needed. Cover the pot leaving the lid slightly ajar to let steam out.
- Cook the beans for about three hours (more or less depending on the bean variety you are making. Chickpeas tend to take longer than other types of beans).
- Gently stir the beans (to not damage them) every thirty minutes or so, tasting the water as you go. Add more salt if needed. If the water boils down, add more.
- At the hour, hour and a half mark, start tasting the beans. A properly cooked bean should melt in your mouth and gently disintegrate with very little chewing. It should not taste chalky at all. They probably won't be done at this point, so come back and check on them in 30 minutes. If you are going to err with beans, always overcook rather than undercook.
- Once they are done, the very first thing you should do is ladle them into a small bowl, sprinkle fresh herbs, salt, and drizzle olive oil over the top to properly savor your creation. There is absolutely NOTHING better than fresh beans with GREAT olive oil and fresh herbs. Do not miss this! As an added bonus, you can now call yourself a mangiafagioli.
- Transfer your beans to a storage container, retaining all the liquid. The liquid can be used to season a wide range of delicious dishes (pasta sauces, soups, stocks, hummus, and much more).
Notes
*I use the same proportions of vegetables below regardless of how many cups of beans I am cooking. It sounds counterintuitive, but it doesn't seem to affect the taste; some chemistry principal at play, perhaps.
**This is a good way of experimenting and will train your palate to register the difference in flavor when one component is subtracted, doubled, or changed in some way.
**This is a good way of experimenting and will train your palate to register the difference in flavor when one component is subtracted, doubled, or changed in some way.
Recipe by at https://www.thescratchartist.com/how-to-make-beans-from-scratch/