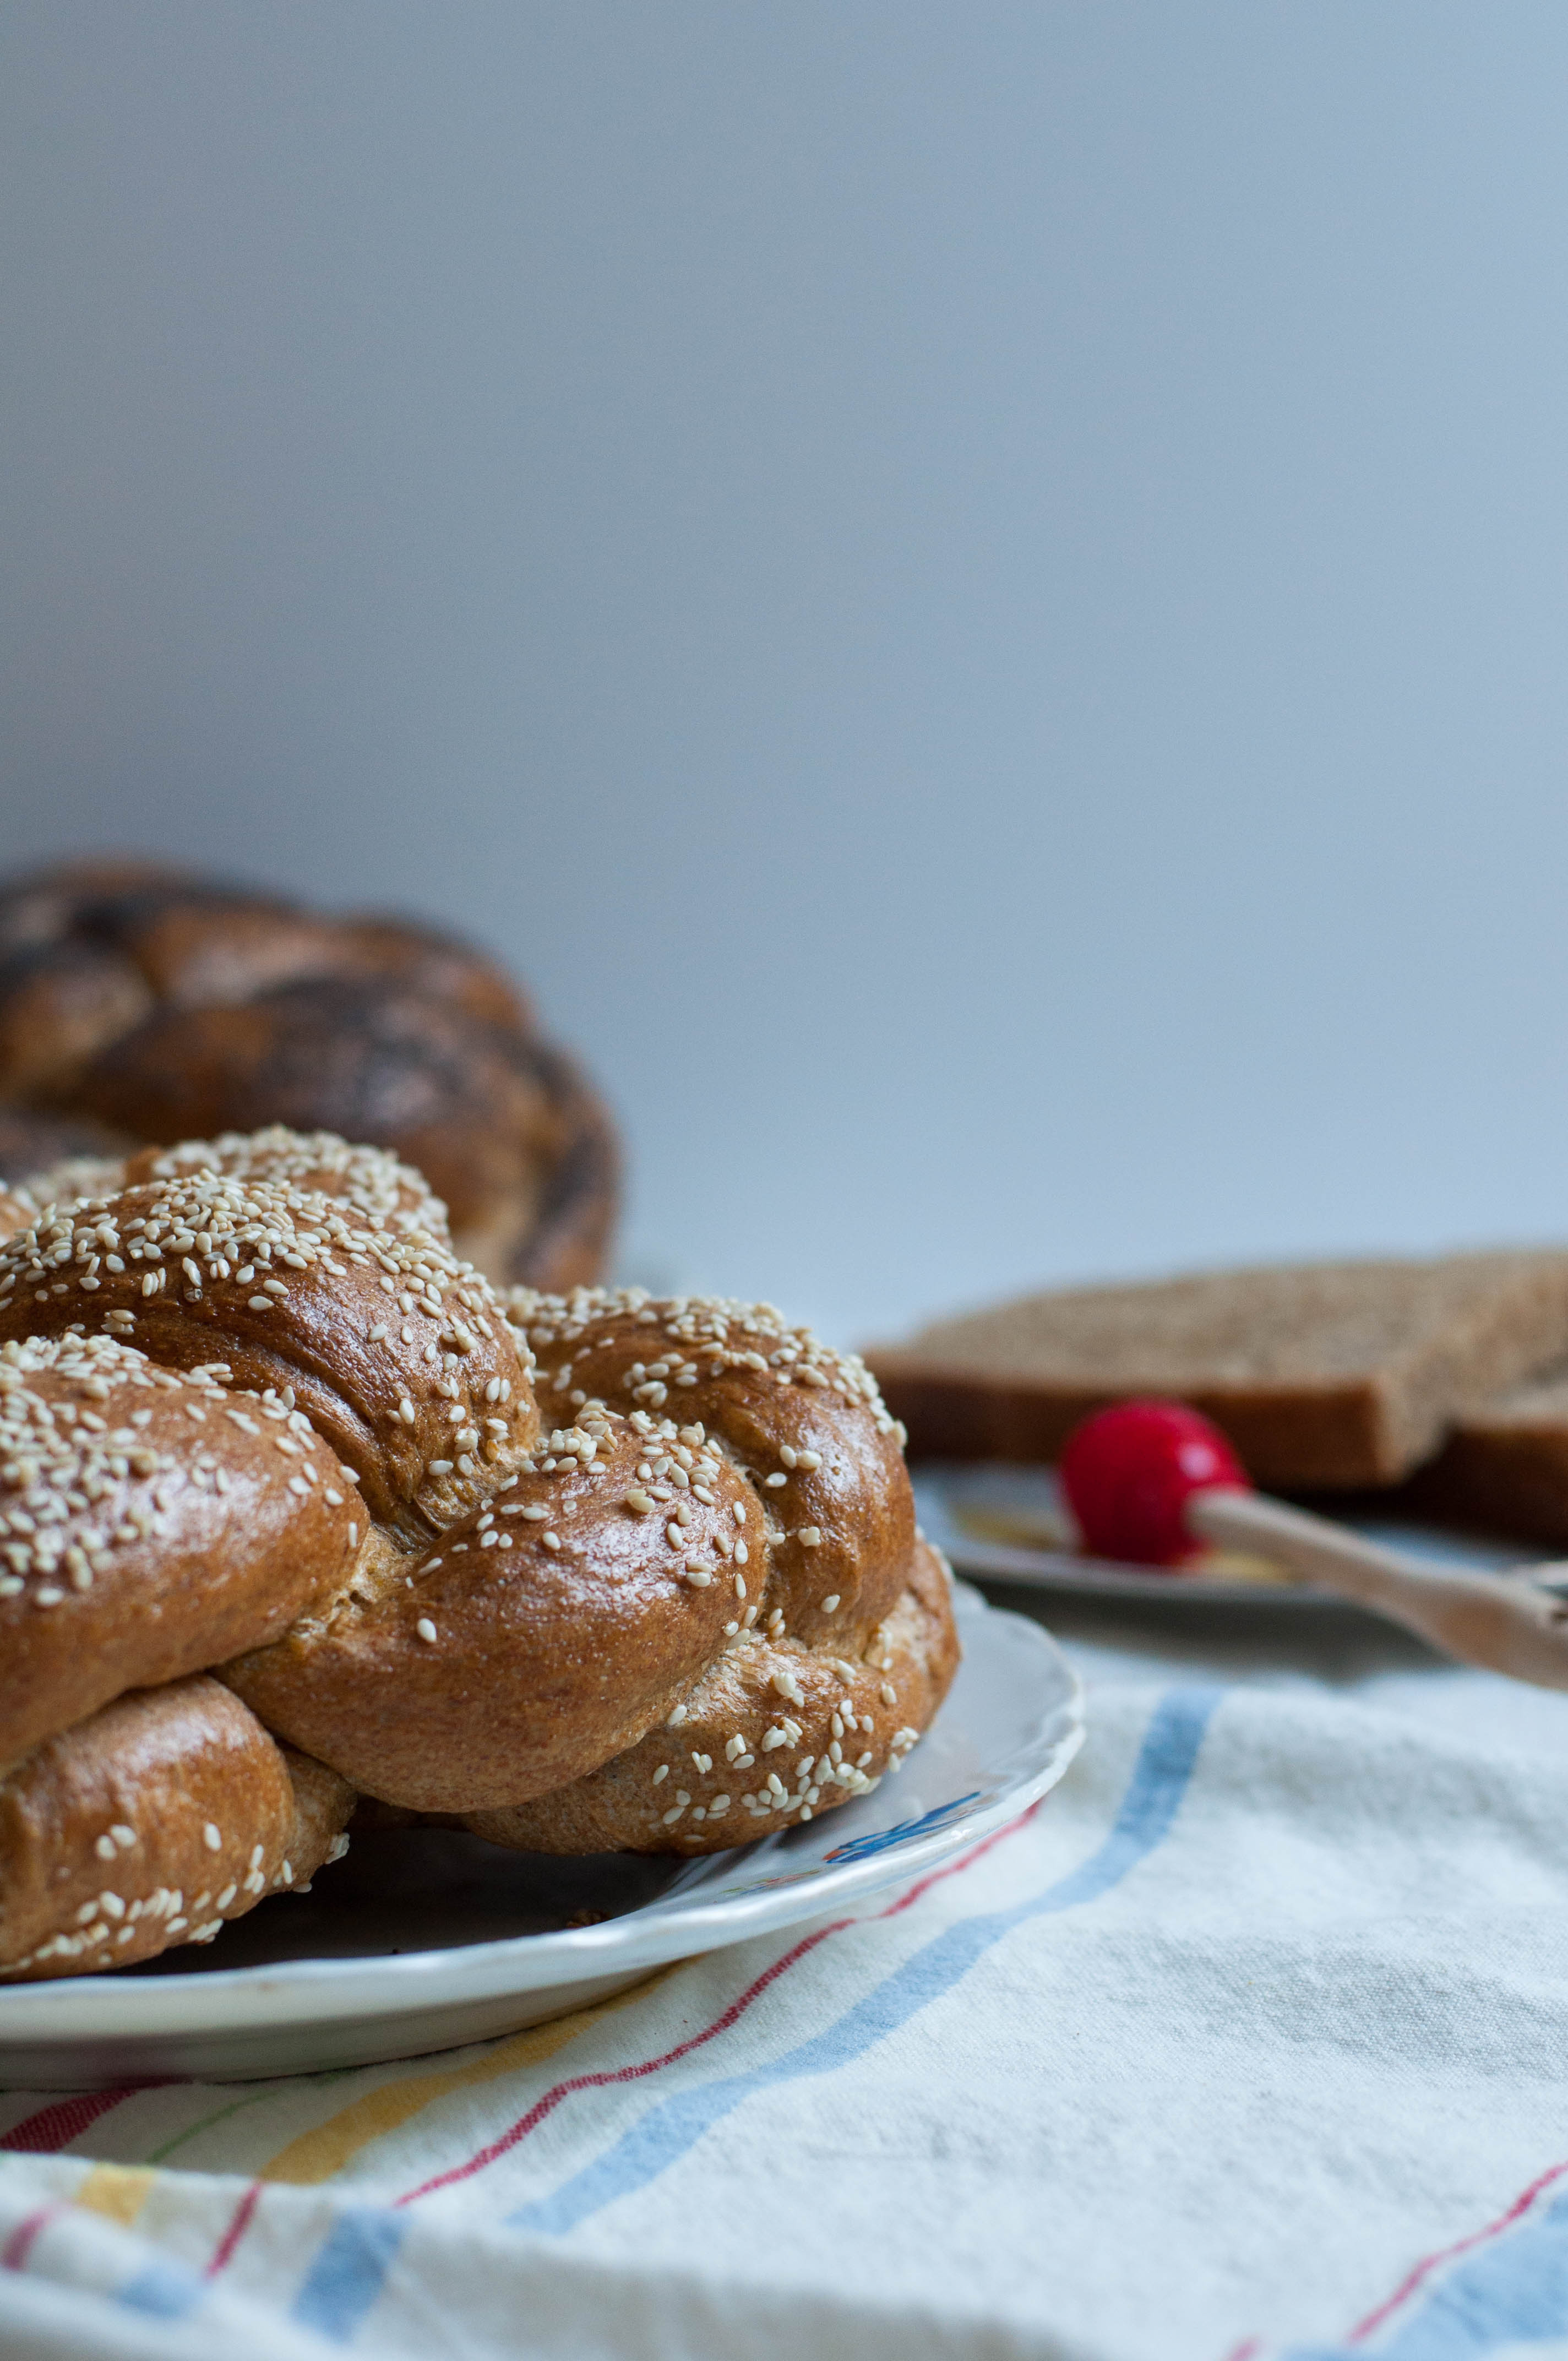
Whole Grain Challah (Happy New Year!)
Ingredients
Soaker:
- 227 Grams sprouted whole wheat flour (1¾ cups)
- 4 Grams salt (1/2 teaspoon)
- 170 Grams filtered water (3/4 cup)
Biga:
- 227 Grams sprouted whole wheat flour (1¾ cups)
- 1 Gram SAF yeast (1/4 teaspoon)
- 113 Grams filtered water (1/2 cup)
- 28.5 Grams vegetable oil (2 tablespoons)
- 1 Large egg
- 4 Egg yolks
Final Dough:
- Soaker
- Biga
- 56.5 Grams sprouted whole wheat flour (7 Tablespoons)
- 5 Grams salt (5/8 teaspoon)
- 7 Grams SAF yeast (2¼ teaspoons)
- 28.5 Grams vegetable oil (2 tablespoons)
- Optional: 28.5 Grams honey or sugar (2 tablespoons)
Egg wash:
- 1 Egg beaten + 1 Tablespoon of water and a pinch of salt
Toppings:
- Sesame seeds, poppy seeds, or any kind of seed you like!
Instructions
- I HIGHLY recommend buying a food scale if you are serious about making bread. It is very challenging if not impossible to be accurate when using measuring cups.
To make the soaker:
- Mix all soaker ingredients together until the flour is completely hydrated. You may have to use your hands to incorporate all of the flour, but don't knead it. Cover loosely with plastic wrap and leave at room temperature for 12 to 24 hours.
To make the biga:
- Briefly whisk eggs then combine all biga ingredients. Stir until the dough is uniform (about 2-4 minutes). The dough will be quite loose and VERY sticky. Allow to rest for five minutes.
- Mix for another minute, then transfer to a large clean bowl. (This bowl will be used to mix the final dough so make sure it is at least double the size of the biga). Cover tightly with plastic wrap and place in fridge for at least 8 hours and up to 3 days.
To make the final dough:
- Remove the biga from the fridge two hours before beginning. Divide soaker into 12 equal pieces and add to the bowl with the biga, along with the remaining final dough ingredients.
- Mix with a large wooden spoon (or similar) working to incorporate all of the ingredients. Once the dough starts to come together, remove it from the bowl and begin kneading it on a well floured surface.
- Continue kneading, adding extra flour as needed until you achieve a smooth, elastic dough. In the beginning the dough will be sticky. Keep adding more flour and kneading until it is no longer sticky. This should take about 5-10 minutes.
- Let the dough rest for five minutes. Oil a large bowl with cooking spray (one that will allow the dough to double in size) and set aside.
- Resume kneading for another minute. The dough should feel soft, supple, and slightly tacky, but not sticky. Continue kneading and adding flour or a sprinkling of water if needed.*
- Place dough in the oiled bowl and cover tightly with plastic wrap.
- Allow to rise at room temperature until it is has nearly doubled in size (about 45 minutes to an hour).
To make two round challah:
- Line a baking sheet with parchment paper. Set aside.
- Place risen dough onto lightly floured work surface and divide in half. Working with one half, cut the dough into three equal pieces.
- Roll each piece into a long rope measuring about 24" long. Cut each of these pieces in half. Roll them out again so that they are about 12-14" long.**
- Braid as per the instructions in this video.
- Place braided loaves on the parchment lined baking sheet. Brush your challahs with the egg wash, coating evenly. Cover loosely with plastic wrap. Preheat oven to 400F Bake.
- Let rise for 30 minutes.
- Apply another coat of egg wash and sprinkle on toppings of your choice. Let rise for an additional 15 minutes uncovered (the bread should have roughly doubled in size).
- Place in oven and reduce oven heat to 325F.
- Bake for 20 minutes.
- Rotate pan 180 degrees and bake another 20 minutes.
- If you notice that your breads are not browning as you would like, turn your oven to convection bake for the last 5 minutes of baking time. Keep a close eye so that the tops don't burn.
- The internal temperature of your bread should be in the 195F - 200F range. Continue baking until this temperature is reached.
- Let cool completely before slicing (OK, you can break off a piece and eat it now if you must)
Notes
*If you're thinking "I don't know if this looks right" or "this isn't right," don't give up. Move on to the next step and see how your bread turns out. If I threw in the towel everytime I thought something didn't look or feel right, I would be hungry. Very, very hungry. Bread making is learned by feel. You get a sense of what the dough should feel and look like after making many, many loaves. If your dough ever doesn't feel right, keep making it anyway to learn from the result. You will gain confidence after each and every loaf (hopefully). And if not, send me a message and I will help.
**For one large challah do not divide your dough in half. Simply make six long ropes about 24" and braid as per video instructions.
**For one large challah do not divide your dough in half. Simply make six long ropes about 24" and braid as per video instructions.
Recipe by at https://www.thescratchartist.com/?p=3517