Whole Grain Homemade Pita Bread
Serves: 16 pita
Ingredients
- 1 Teaspoon SAF yeast (or active dry yeast, which will need to be activated first)
- 2½ Cups water (80-90F)
- 2½ Cups freshly ground hard red spring wheat berries (RS) (or sub another whole grain wheat flour)
- 1 Tablespoon salt
- 1 Tablespoon olive oil
- 2½ to 3½ Cups freshly ground hard white winter wheat berries (WW) (or sub another whole grain wheat flour)
Instructions
- In a large mixing bowl combine water and SAF yeast.
- Add the ground RS wheat one cup at a time, stirring in one direction only. Once all of the flour is added, stir 100 times, or until the mixture is smooth and silky.
- Cover tightly with plastic wrap and leave to rest for at least 30 minutes, but ideally 8 hours, in a cool spot in your kitchen or elsewhere. This is the sponge and it will form a bubbly network that indicates the yeast is doing its job. The longer you let it rest, the richer the flavor will be.
- At the end of the rest period (your sponge should look bubbly and will be quite watery), sprinkle the salt and drizzle the olive oil over the top.
- Begin mixing and add in the WW wheat as you stir, always in the same direction. Continue mixing until the dough becomes too stiff to stir.
- Turn the dough out onto a floured work surface and knead until it is smooth and elastic. This should take 8-10 minutes.
- Coat the sides of a a large bowl with olive oil and place your kneaded dough into the bowl, rotating it several times to coat it in oil. Cover the bowl tightly with plastic wrap. The dough should have room to double in size.
- Let it rise for 2-3 hours or until it has doubled in size.
- There are two methods you can use for making pitas: oven or stove top. I find the oven method more predictable and that is the method I am going to share with you today.
- About an hour before your dough will be finished rising, preheat the oven to 450F convection bake. If you have a pizza stone or quarry tiles, place them in the oven. Otherwise, you can use a baking sheet (which should be placed in the oven to preheat).
- Deflate your dough by dumping it out onto a floured work surface and divide it in half. Leave the half that you are not working with covered.
- Cut your first half into eight equal pieces. Form the pieces into tight balls (fast forward video to 6:07 for tutorial). Cover the formed balls loosely with plastic wrap. One at a time, flatten the balls with the palm of your hand and shape into a circle with your fingertips. Using a rolling pin, roll the dough into a circle that is about 8 to 9 inches in diameter and a little less than ¼ inch thick.*
- Keep rolled out pitas covered, and do not stack them. Alternately, you can bake the pitas one at a time as you roll them out. I found that I could bake one while rolling out the next pita.
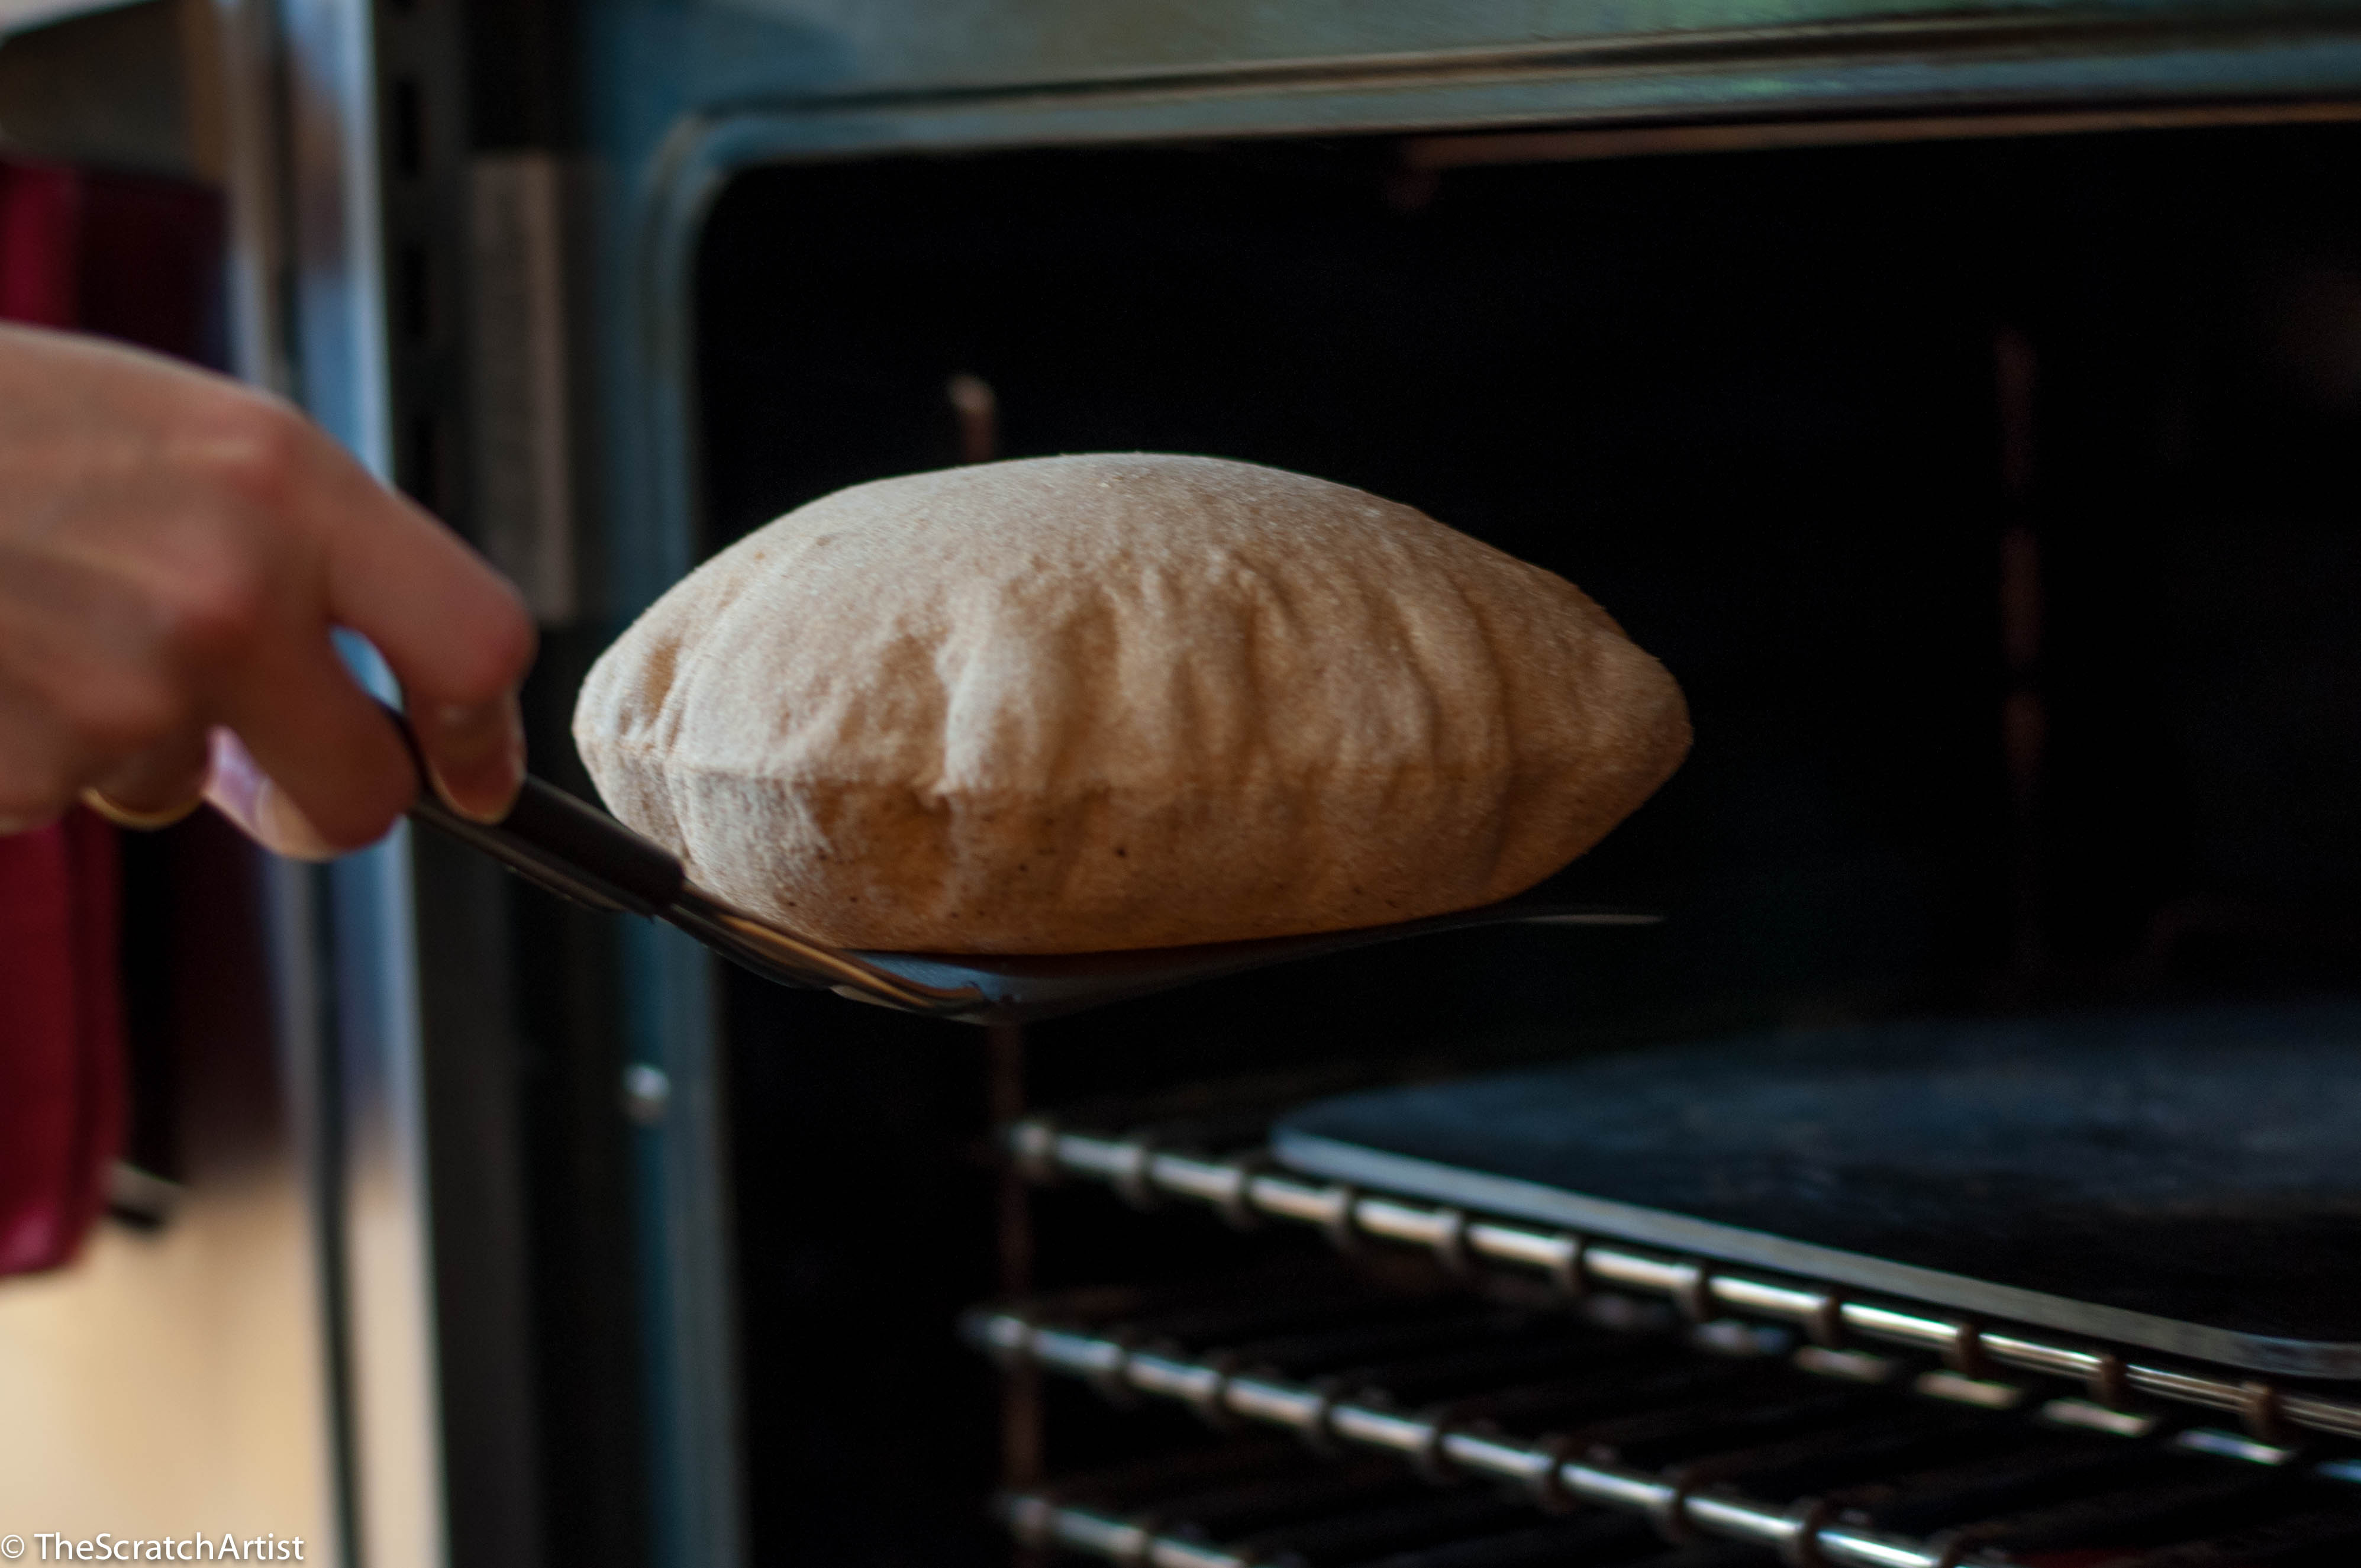
- Place as many of the pitas as you can fit onto your preheated pizza stone and bake for 2 - 3 minutes or until they are blown up balloons!
- Take them out of the oven and wrap in a clean kitchen towel. Continue this process to make 16 pitas.
- Pitas are best on the day you make them but can be stored in the refrigerator for several days or frozen for up to a month. Thaw and reheat on a baking stone.
Notes
Some baking notes: If your pitas do not puff up to a perfect balloon on your first try, don't fret. There are a couple of factors that might cause this. 1. Your oven might not be hot enough (turn up the heat or wait a little longer before trying to cook your next one). 2. The pita might not be rolled out thin enough. Make sure they are not thicker than ¼". 3. Try cooking one pita at a time. And finally, don't toss out any of your failures. They will still taste great even if they aren't perfect pockets. Test out one at a time until you know you have the method down.
*To roll dough out into a prefect circle, roll in only one direction. Turn your dough a quarter turn at every 2-3 passes of the rolling pin. Continue rolling and turning until you have an 8 to 9 inch circle that is a little less than ¼" thick.
**Recipe adapted from Baking with Julia by Dorie Greenspan.
Recipe by at https://www.thescratchartist.com/?p=3206