Homemade Greek Yogurt
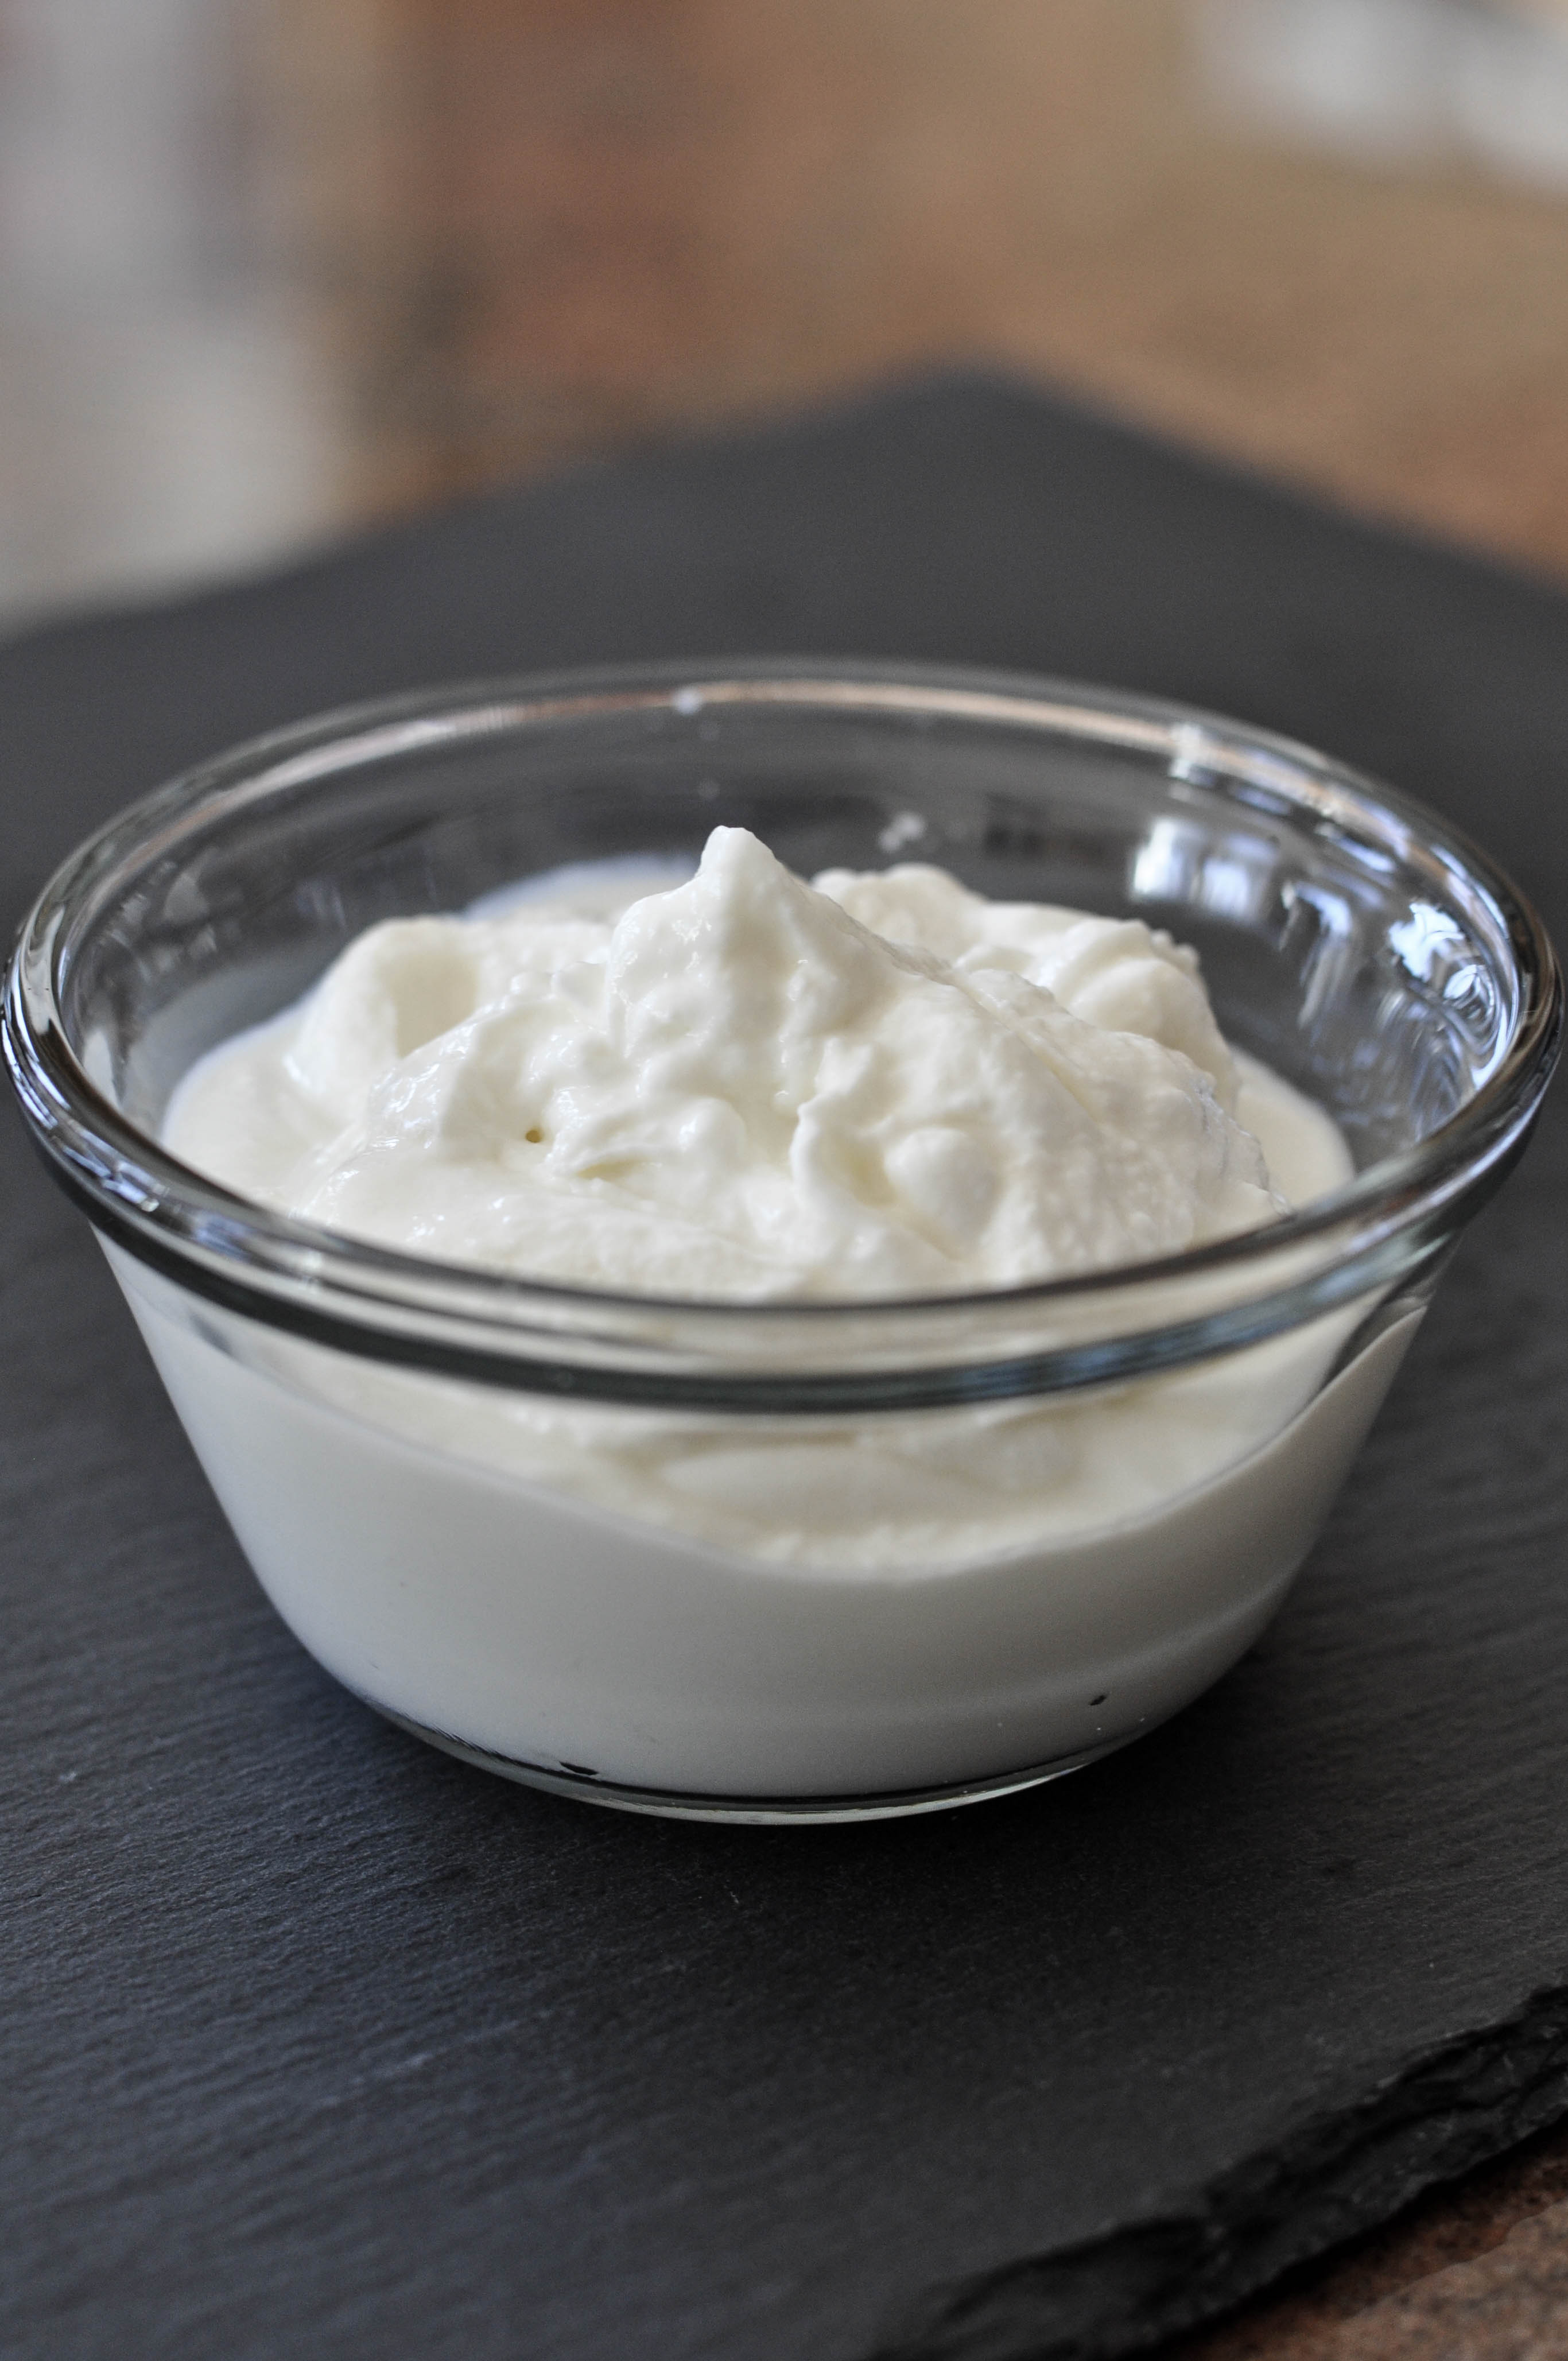
Up to 8 hour set time. This recipe will yield 2¼ cups of very thick yogurt. To increase your yield, strain your yogurt for less time.
Ingredients
Ingredients
- ½ Gallon skim milk*
- ½ Cup yogurt with active cultures
Equipment
- 3½ Quart Dutch oven**
- Whisk (if you have a pot with a ceramic base use a whisk with silicone blades so you don't scratch your pot)
- At least 2 Cup pyrex measuring cup
- ½ Cup dry measuring cup
- Digital thermometer
- Ladle
- Bath towel
Instructions
Getting things clean:
- Fill your Dutch oven with water and bring to boil.
- While the water is heating, gather the equipment listed above and wash thoroughly with a clean sponge and very hot water.
- Set your "equipment" aside on a clean towel.
- Once your water is at a roiling boil, turn your burner off and carefully place all of your equipment into the Dutch oven with the water to sterilize. Make sure not to get the handle of your digital thermometer wet. If your Dutch oven is not large enough to hold everything, place all of the equipment in a large heat-resistant bowl and carefully pour the boiling water over all of your utensils.
- Let sit for five minutes.***
- Carefully pour out the hot water and place all utensils on a clean dry towel.
Making the yogurt:
- Pour the milk into your Dutch oven and turn your burner to medium high. Heat until the milk reaches 200F.
- Using a whisk, stir the milk frequently to prevent scorching as you bring it to temperature.
- While the milk is warming, prepare a tray that your pot will fit in with ice cubes and cold water (an ice bath).
- Once the milk reaches 200F (about 15 minutes), remove from heat and place the pot in the ice bath. Continue to stir frequently and monitor the temperature until it reaches 115-120F.
- While the milk is cooling, measure out the yogurt with the dry measuring cup and place into the Pyrex measuring cup.
- When your milk reaches 115-120F remove the pot from the ice bath and ladle out about 1 cup of milk into the Pyrex measuring cup (that now has the yogurt).
- Using a whisk stir together the yogurt and milk.
- Pour the yogurt and milk mixture back into your Dutch oven while gently stirring with your whisk. Check the temperature of the milk mixture; it should be between 110-115F. If it has dropped below this temperature, put it back on the burner for a moment or two, until the temperature is back up in that range.
- Once it is at the proper temperature, cover your pot with a lid and wrap in a bath towel.
- Place your wrapped pot in the oven and turn the oven light on.****
- Let set for 4-8 hours. The longer you let it set, the firmer and tarter it becomes. Finding your preferred tartness and thickness comes down to trial and error. We like 7 hours.
- Carefully remove your yogurt from the oven when it has set to your liking (don't open and close the oven or pot lid while setting. Keeping the temperature consistent is critical). Be mindful not to jostle the pot when removing it from the oven. The pot should be quite warm to the touch. Ideally your yogurt has maintained a temperature of 110F. It is OK if it drops a bit below that. When you peak inside you should see a layer of whey above your thickened yogurt.
- As long as your pot is not too hot, place it in the refrigerator and let it sit overnight. This will help the yogurt to set better. You could also start straining out the whey at this point, but I like to let it set in the fridge first.
- In the morning, set out a bowl large enough to accomodate your biggest strainer. Set the bowl under the strainer and line the strainer with cheese cloth (all of your whey will drip into the bottom bowl).
- Unveil your yogurt and ladle off the top layer of whey (or mix it in with a whisk for regular yogurt. You could eat your yogurt as it is now. The straining is what makes it thick, Greek-style yogurt). The whey can be saved and used in hundreds of ways. I use it to make bread by substituting it for the water.
- Scoop your yogurt into the strainer. If you don't have a large enough strainer you will have to do several rounds of straining.
- Give the yogurt, resting in the strainer, a gentle whisk or two in order to eliminate lumps. This will yield a smoother end product.
- Cover the bowl with plastic wrap and place your whole set-up in the fridge.
- Once it has reached your desired thickness, scoop out your yogurt and fill your sanitized containers. I strain for 8 hours; I like it very thick. If it comes out thicker than you like, just mix some of the whey back into the yogurt.
- For the bowl, strainer, and yogurt containers, I sanitize by using very hot water and soap.
Notes
After much reading and research I followed the recipe the bloggers over at The Kitchn created the first time I made yogurt. I have modified a few things to suit my needs, but they did a really nice job explaining the process.
*I first made this yogurt using 4 cups of skim milk and a ¼ cup of yogurt because I wasn't sure how much of it we would eat. Modify as you like, just keep the ratio consistent (for every 4 cups of milk add ¼ cup of yogurt. I am now using a gallon of milk and ½ cup yogurt). Once you have made your first batch of yogurt you can use YOUR yogurt to make all future batches. Doesn't get more from scratch than that! Unless you have cows...
**if you don't have a dutch oven use something comparable. You want a pot that will retain heat and maintain a consistent temperature.
***I read a lot about how to make yogurt safely and there are really no guidelines, so I made this up. This is JUST what I came up with, and I do not guarantee or even recommend this as a method to sterilize your equipment. I can only attest to that it has worked for me.
****I find it easier to lay my towel out on my oven rack and place the dutch oven onto the towel and then wrap it in the oven.
Recipe by at https://www.thescratchartist.com/homemade-greek-yogurt/